Okay Pinterest Fantatics...it's time for my first Pinterest tutorial!!
Today, I will be showing you how to make Calendar Blocks!
My inspiration comes from Simply {Kierste}...

And the result...
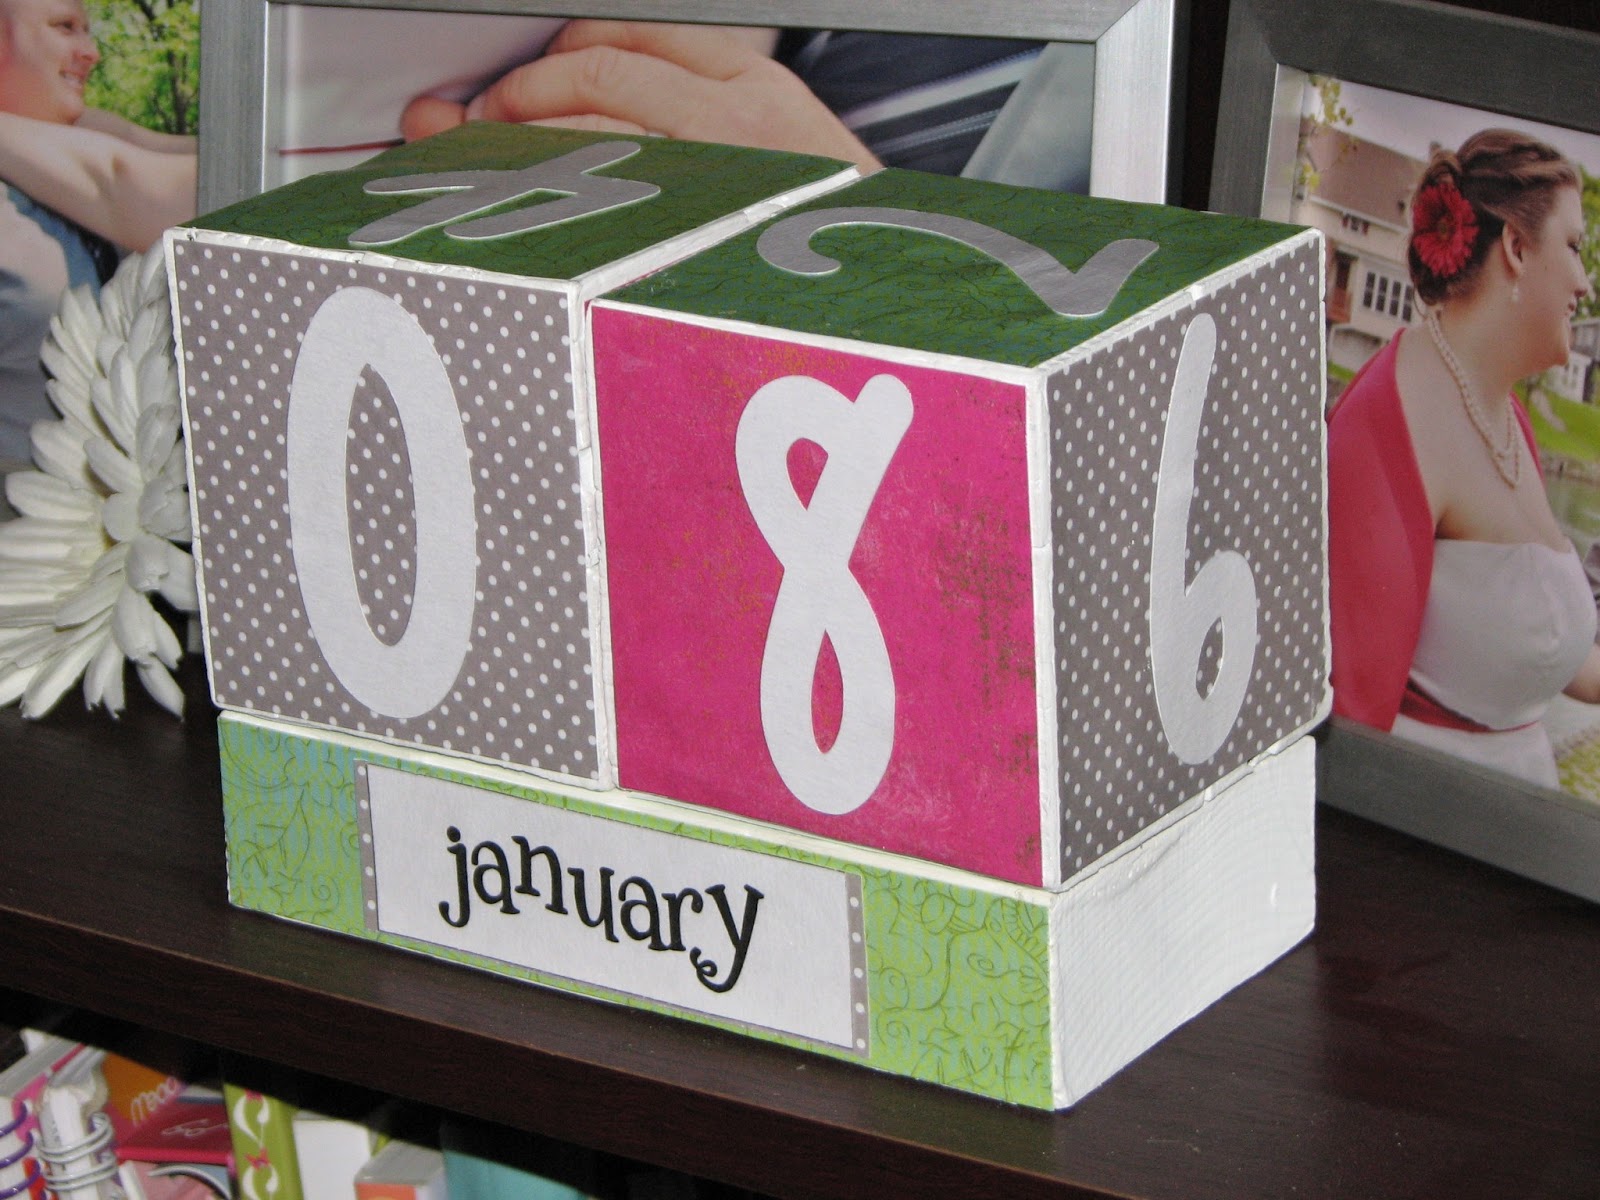
I think it turned out SUPER cute!!
Ready to learn how to make one...?
Okay...here's what you need...
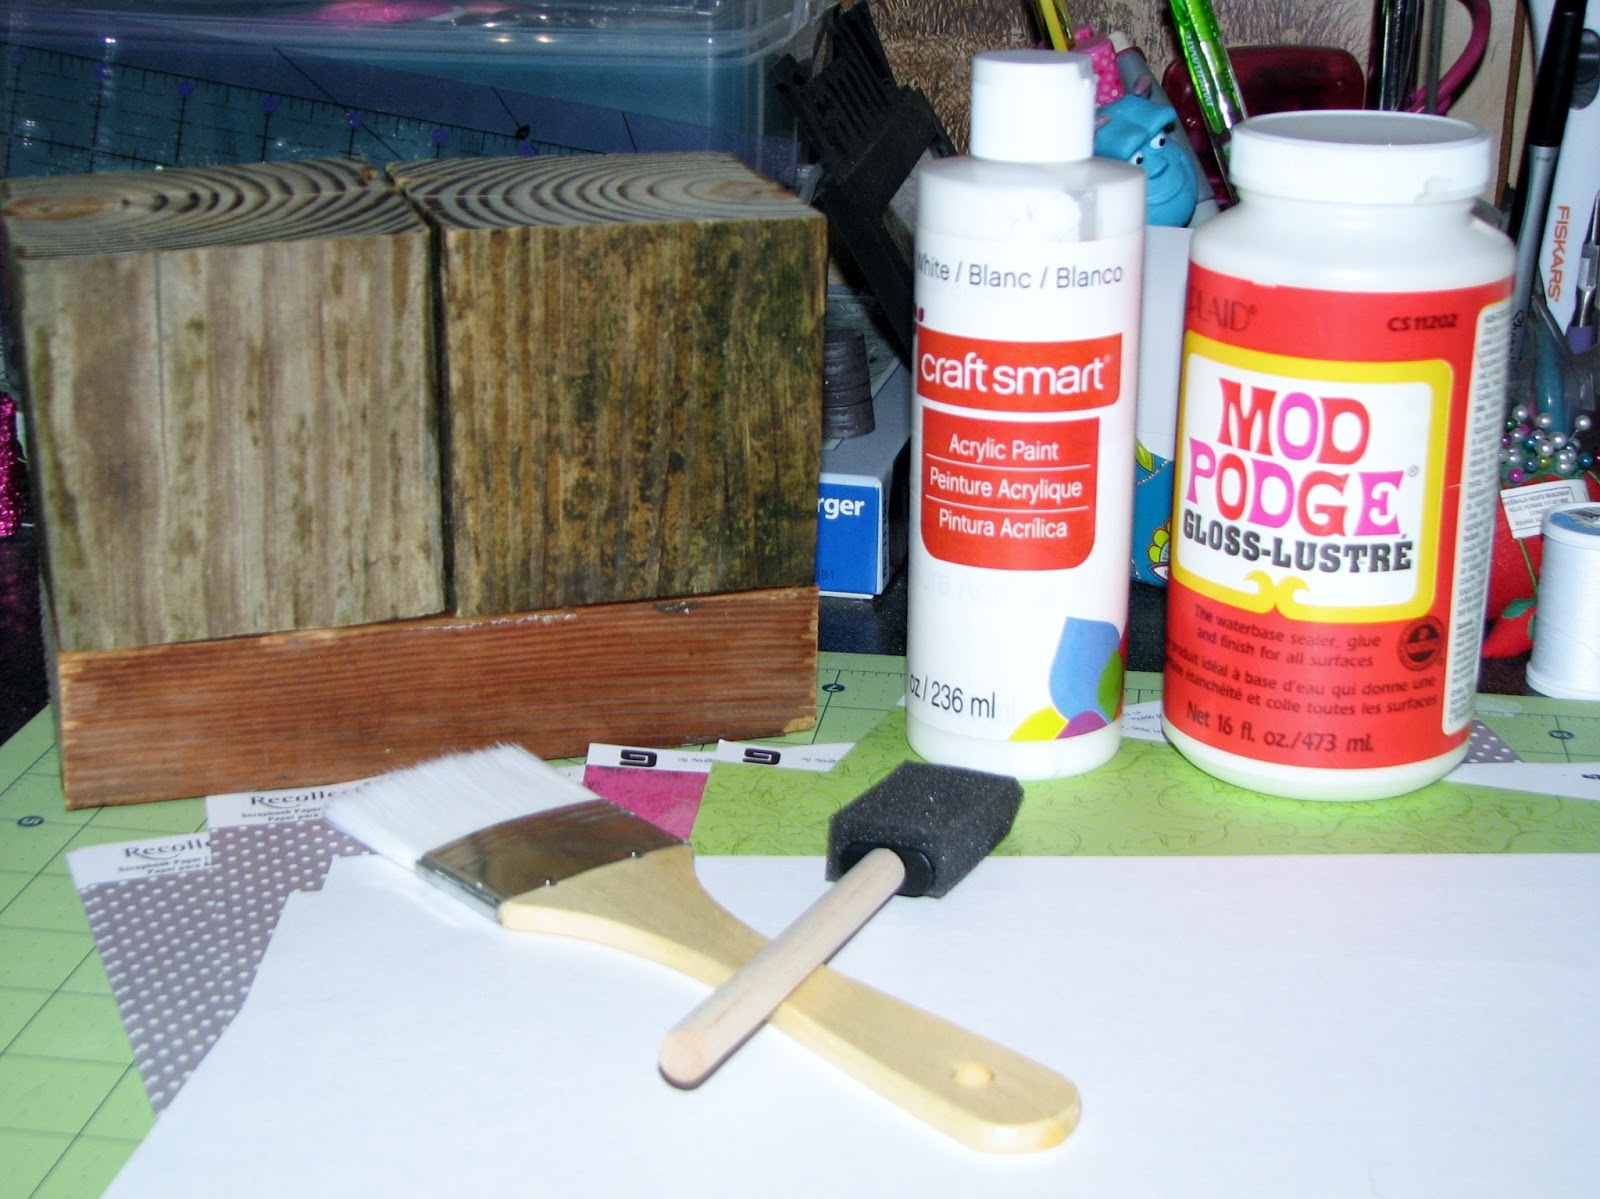
Supplies:
- Wood--> 4x4 post cut into two square blocks; 2x4 cut 7" in length (I had my hubby do this part...I don't trust myself with a power saw! I'm pretty sure I would lose a finger,
or two!) - Paint--> You can use whatever color you like, but I would recommend a neutral color. I used white.
- Scrapbook Paper--> Three different colors (your choice)!
- Cardstock--> Plain white cardstock paper
- Mod Podge!!
- A Paint Brush (or two)
- Scissors
- Double-stick Tape
Directions:
First, paint the wood! Easy enough, right? It may take a couple of coats...and a little bit of time since you can't really paint all sides at once...but you can handle it!
Now, while the paint is drying, cut your scrapbook paper into the necessary sizes. I used my paper cutter for this part because it is SUPER easy...but if you don't own one, you can use scissors too! ;)

Cut several 3.5"x3.5" squares from each piece of scrapbook paper (you need a total of 12 squares-I made four of each color). You will also need to cut out a 1.5"x7" rectangle and twelve 1.5"x5" rectangles (I used one color for the first rectangle and a different color for the other twelve). You may end up trimming some of these pieces of paper...it all depends on how even your wood is.

Next, type up and print out the various months on cardstock. I just used Microsoft Word to type up the months. I put each month into a text box and made each text box 1"x4" in size. I also used Mister Giggles as the font (you can download it here for free)! Once you print the months on cardstock, use your handy dandy scissors to cut them apart! They should look something like this...


Now, mount each month onto one of the twelve
1.5"x5" rectangles you cut out earlier.
Okay...now for the numbers! I used my Cricut to cut out the different numbers...but if you don't have one, you can always just use your computer to type, print, and cut them out. And if you don't want to do that, you could probably also find some number stickers and use those!
Here is the number placement you will need to use...
Block 1: 0, 1, 2, 3, 4, 5
Block 2: 0, 1, 2, 6, 7, 8 (keep in mind that the 6 doubles as a 9)

Now, it's time for the MOD PODGE!!

First, Mod Podge the 1.5"x7" rectangle onto the front of the piece of 2x4. Then, Mod Podge alternating colors of paper onto each side of both blocks.
Wait for it to dry...
Add some double-stick tape to the back of the
month you want to use, and you're done!!
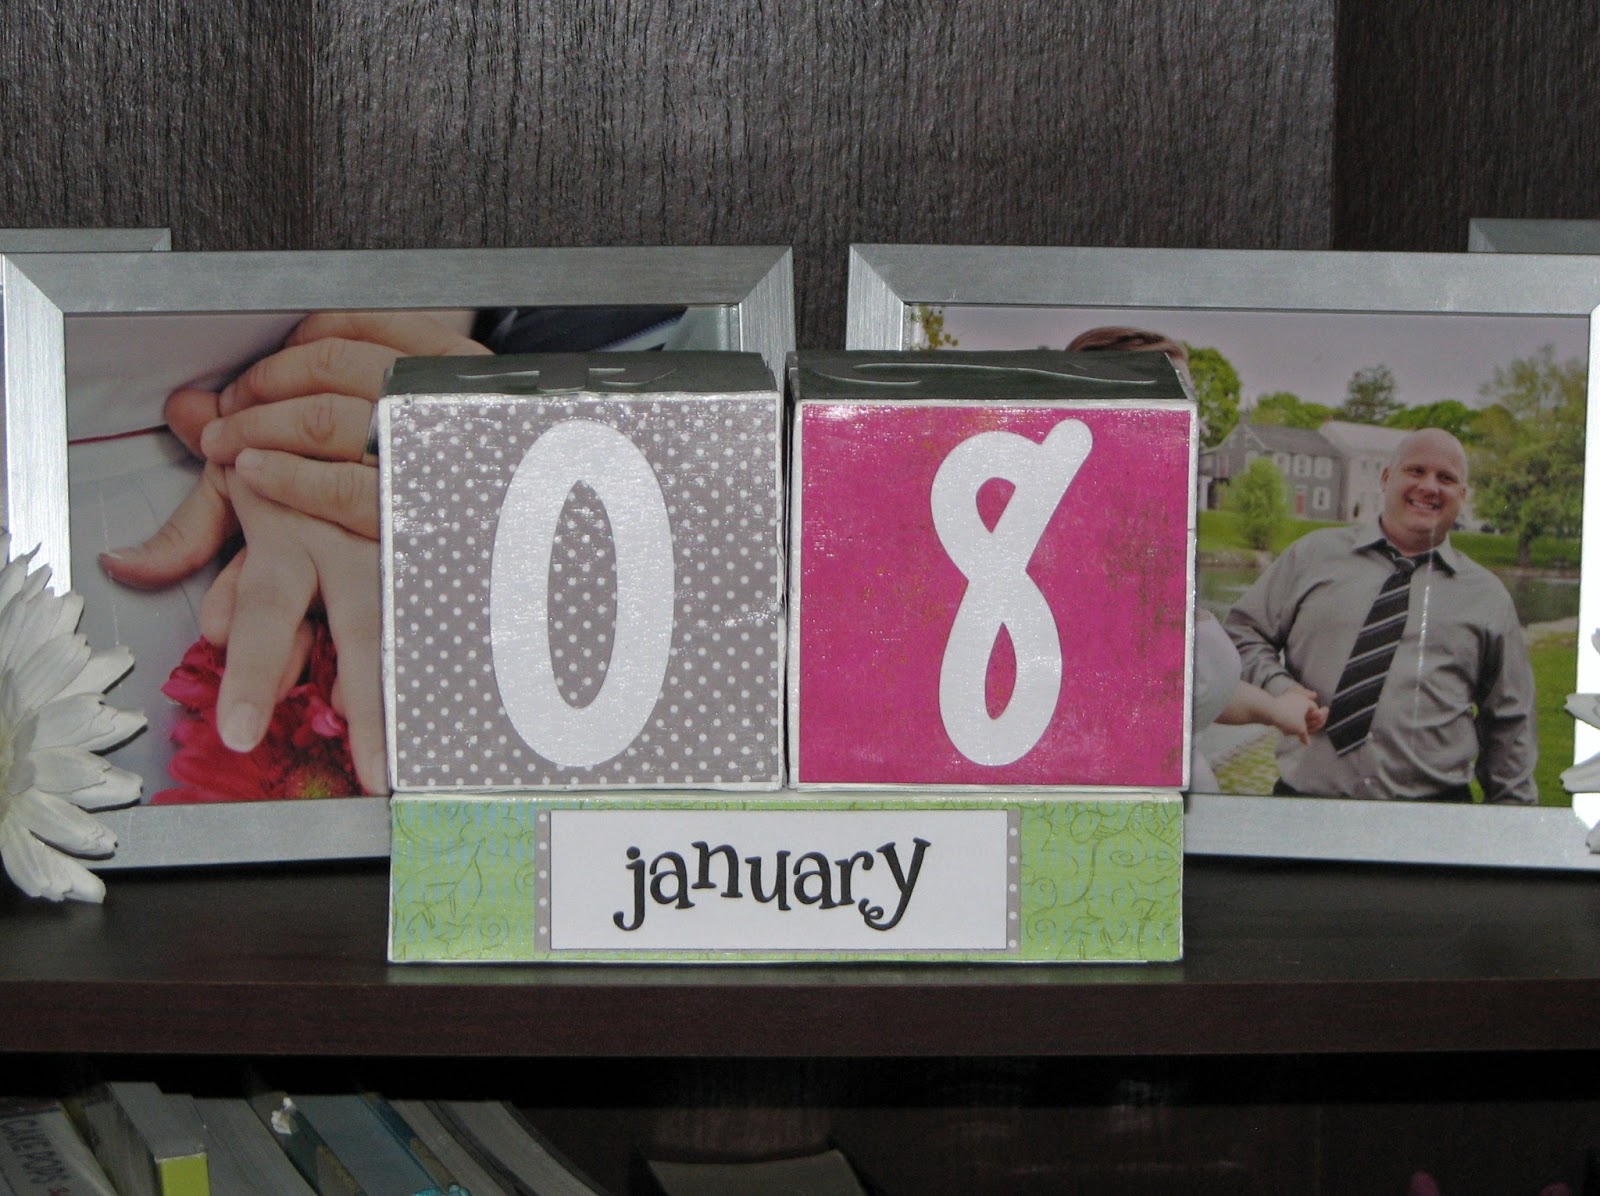
I really think it turned out great!
I can't wait to use it ALL year long!
If you decide to make one too, feel free to share pictures!
I would love to see everyone's final projects!
XOXO
Brittney
No comments:
Post a Comment