One of the things I made for this baby shower was a diaper cake! I do not have an "inspiration" this week because I learned to make these a while back. And I absolutely LOVE them! These cakes make a perfect gift or decoration/centerpiece for a baby shower! They also make a great nursery decoration for after the shower!
Here is my final product...

Now...isn't that just ADORABLE?!?
Ok. Let's learn how to make it!
Here's what you'll need for this project...

Supplies:
14" Cake Round
Size 2 Diapers (approx 77 for a 3-tier cake)
Large Rubber Bands
Small Rubber Bands (I use small clear hair ties)
1 Paper Towel Roll and 1 Toilet Paper Roll
(or three toilet paper rolls, if you don't use paper towels)
Scissors
Hot Glue Gun
Ribbon
Shredded Paper
Silk Flowers
Wooden Letters
Misc Decorating Supplies!
The first step is to roll all of the diapers! This is the most tedious part of this project. So, grab your box of diapers and set up in front of the TV! :) You will need to roll approx 77 diapers for one 3-tier cake.


Take the diaper and lay it in front of you, like the first picture above (with the back side facing you). Now, open up the diaper and roll from the bottom.


Once you have rolled up the diaper, place one of your small clear rubber bands around the center of it (as shown above).
Now, continue this process until you have rolled all 77 of your size 2 diapers!

Once you are done rolling the diapers...it is time to assemble your cake!


Your 14" cake round is going to be the base of your cake, and the paper towel/toilet paper rolls will be the core structure of your cake. Before you build the cake, you need to create the structure. To do this, just insert the paper towel rule into the toilet paper roll. Easy enough, right?


Now...it's time to build! First, put one of your large rubber bands around your structure. Insert one diaper into the rubber band. Make sure to line up the large rubber band with the small rubber band that is already wrapped around your diaper. Continue to do this to complete the first layer of the first tier. You will need seven diapers to complete this first layer.


Next, begin your second layer. You are basically just adding another row of diapers around the first layer. Make sure you are inserting this diapers into the original large rubber band. You will use 13 more diapers for the second layer.


Finally, make your third layer. You will do this the same way you completed the first two layers. For the third layer, you will use another 19 diapers. Therefore, your first tier will consist of a total of 39 diapers.
Now for the second tier...


You will build your second (and third tiers) the exact same way; you will use one large rubber band for each tier. However, for your second tier you only need two layers/rows of diapers (7 for the first row and 13 for the second row; 20 total).


And your third tier will only be one row of 7 diapers. Now, you are finished with your basic cake!
Now, it's time for the fun part...DECORATING! You can basically decorate your diaper cake however your little heart desires! If you are making this for someone else, I would recommend asking them if they have a theme or color scheme for their nurser and/or shower.
For example, my friend's two favorite colors are pink and orange...and she loves butterflies! So, that is the "theme" I used for the diaper cake!
Like I said, you can decorate this cake however you would like, but here is how I decorated mine...
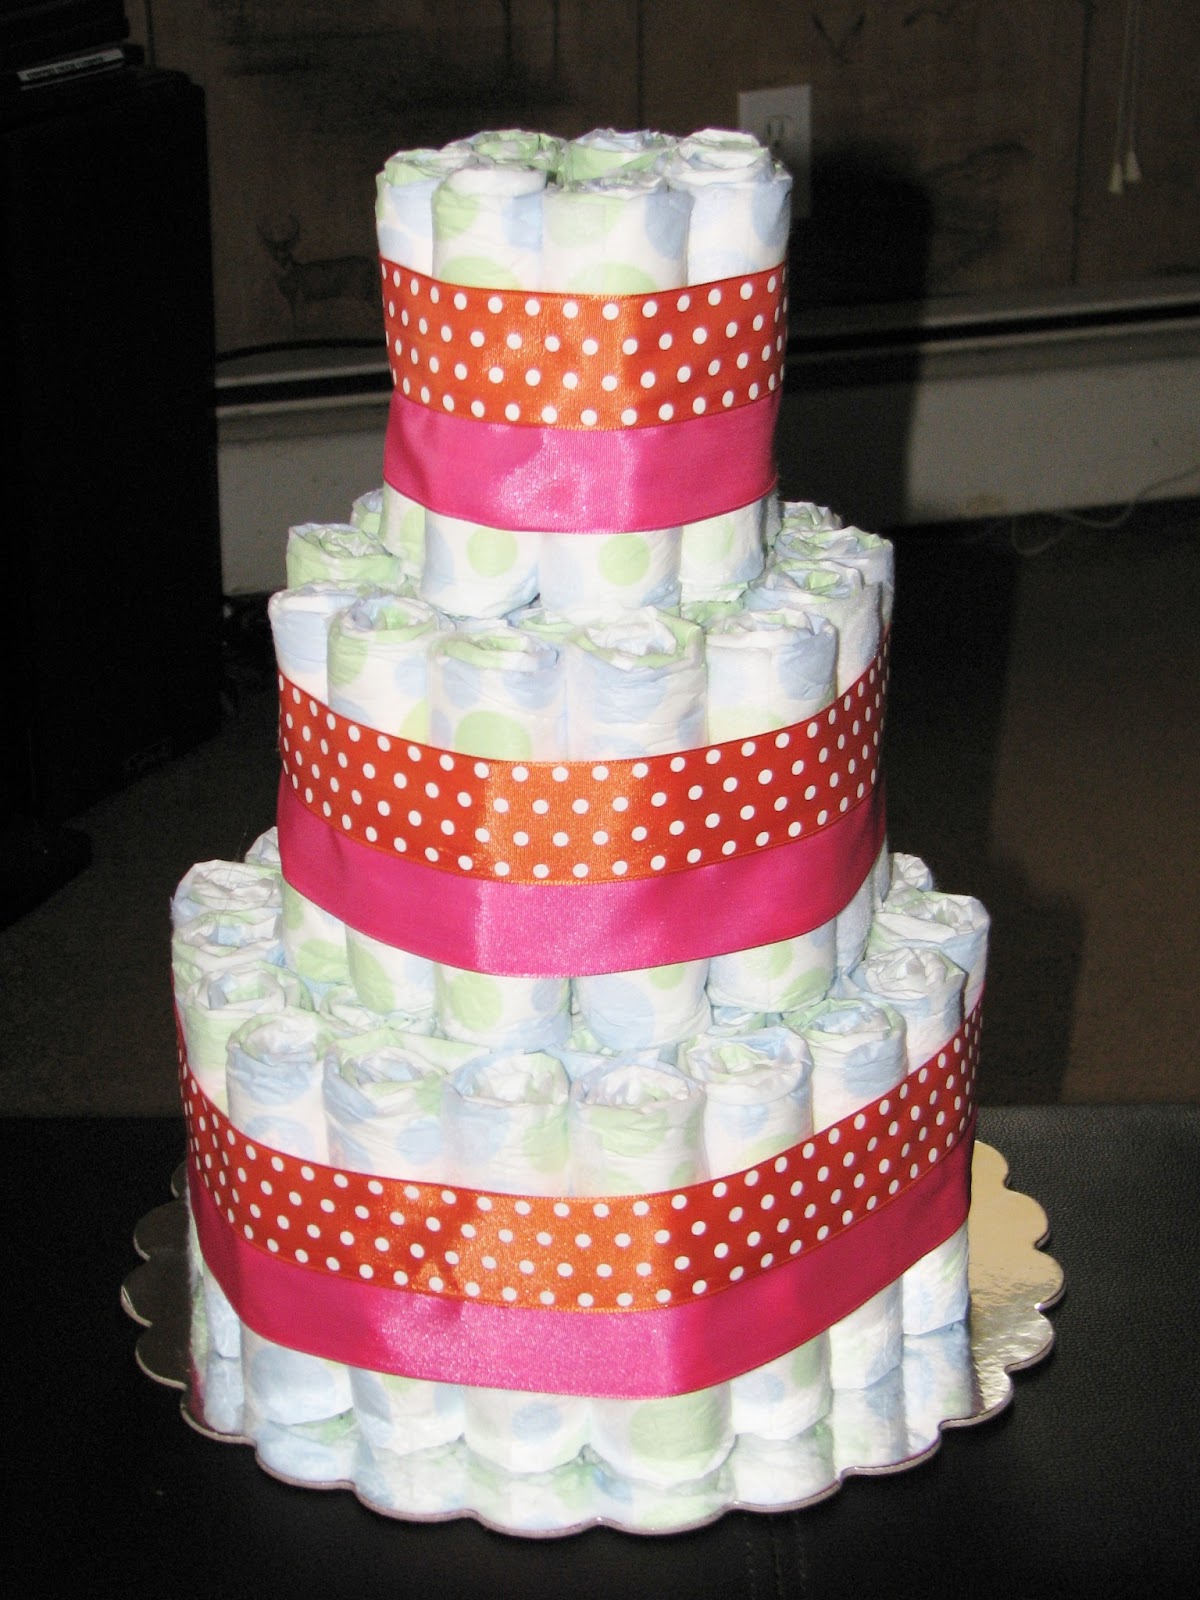
First, I added ribbon around each tier of my cake. I did this by hot gluing the edges of two different ribbons together, to make a double-ribbon. Then, I wrapped the double-ribbon around the cake tier and hot glued the ends together at the back of the cake. I repeated this step for each tier. Be very careful if you decide to use a hot glue gun! Make sure not to get any of the hot glue on the diapers! You want to make sure the diapers are able to be used.


Next, I added some silk flowers and paper shred.


Finally, I added wooden letters to spell out future-baby's name...ALICE! I also added little wooden butterflies that I found at Michael's!
I think the diaper cake turned out absolutely beautiful...

I hope you enjoyed this week's tutorial!
Stay tuned next week for another great project!
XOXO,
Brittney
No comments:
Post a Comment